Artwork Setup Guide
How to set up your print-ready artwork – a complete checklist
Creating print-ready artwork for your door hanger order can be tough. We’re here to help you get it right first time.
If you need help with any of the steps below, please don’t hesitate to get in touch! Our friendly sales team can provide expert support and guidance throughout the design process – just give us a call or drop us an email!
Before you start creating your artwork
- Take a look at our free door hanger templates. If you’ve chosen one of our standard hanger styles, you can download the corresponding template and start creating your artwork right away!
- Make sure your design software is set to CMYK mode, rather than RGB mode. This will prevent colour reproduction problems when your digital artwork is turned into physical prints.
- When starting a new file, make sure the canvas dimensions match the physical size of the hanger and set the resolution of all images to 300dpi. This is key to avoiding low-quality pixelated prints.
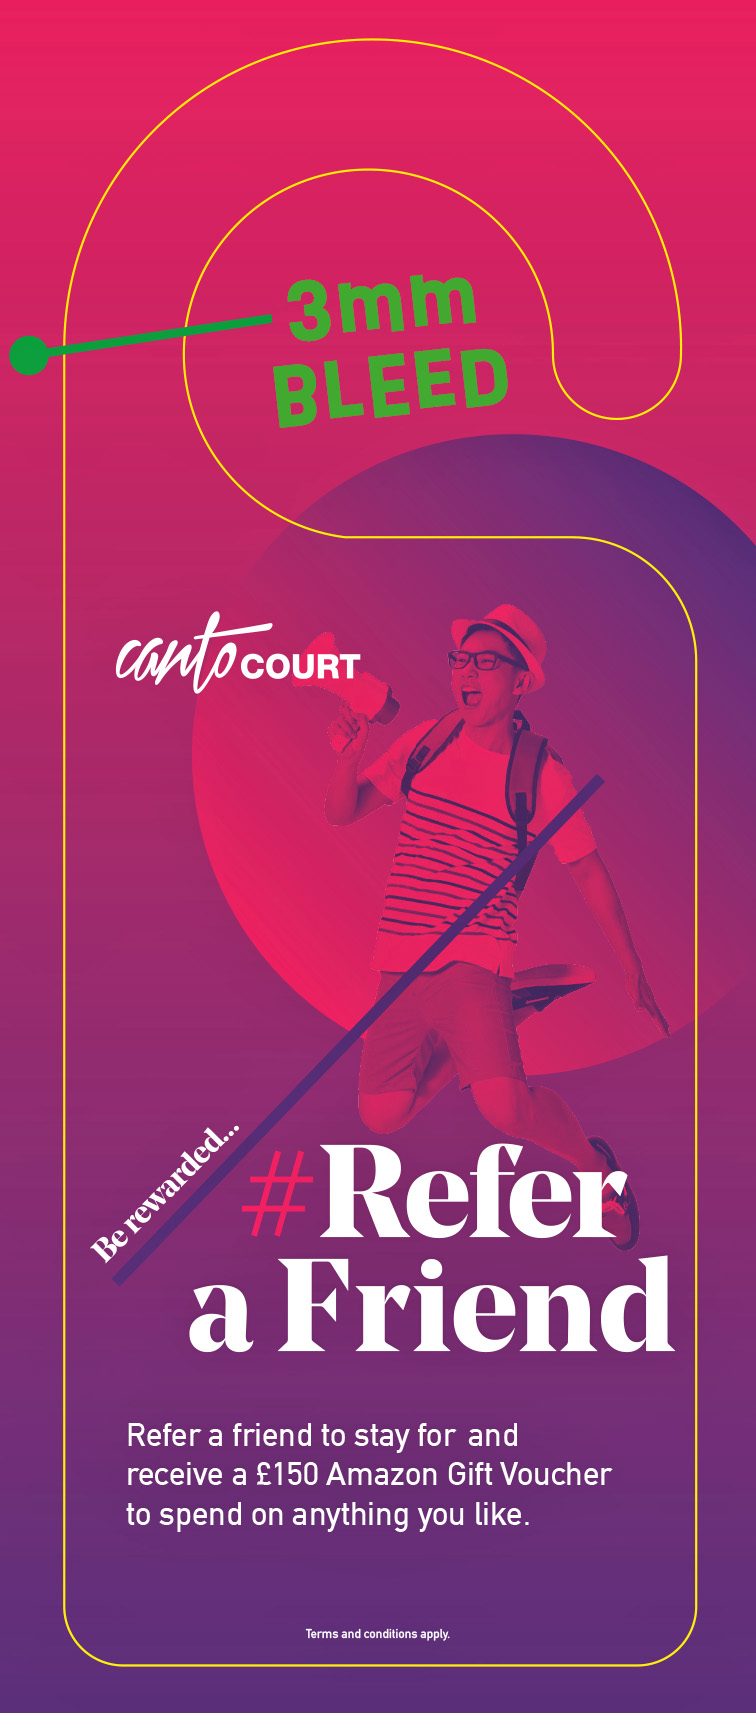
- Be sure to set up a 3mm bleed area. This is essential if your hanger design features any print elements which are intended to reach the edge of the paper (including any solid background colours besides the plain paper colour).
- It’s also smart to include a safe zone 3mm in from the edge of the hanger (or 6mm in from the edge of the bleed area). Keep all important text/graphics within the safe zone, as anything outside the zone may get trimmed off.
- If you’re ordering hangers with your own bespoke die-cut shape, set up a cutter guide. This is simply a stroke line which follows the shape you’re looking to create (and matches the size of the shape). We suggest using a magenta colour for your cutter guide, which keeps it visually distinct from the artwork to be printed.
- If you’re printing on both sides of the hanger (or even printing a four-sided folded hanger), be sure to design for both sides. The easiest way to do this is to create two different design files for each side – but don’t forget to flip one of them along the vertical axis, since the hook shape will be reversed when the customer flips the hanger over!

While working on your artwork
- Make sure any images are also set to 300dpi resolution and CMYK colour mode. Be aware that images imported from the internet are often set to 72dpi resolution (which is too low to ensure good print results). You can turn up the resolution, but be aware that doing so will also shrink the dimensions of the image.
- If you’re ordering hangers with optional extras (eg foiling), place extra elements on their own layer. Make sure the layer is appropriately named so our team can tell which elements are which. If you’ve ordered multiple types of extras, keep each type on separate layers.
- Mark out any fold lines/perforation lines on your artwork. A dashed line is used to indicate a fold and a dotted line indicates a perforation line. Again, use a magenta colour to keep these visually distinct.
- If you’re using variable data printing, it’s wise to include a mockup of the variable elements within your base artwork file. This will help us understand where you want the variable elements to be placed on your design, and how you want them to look. Again, place this mockup on a separate layer and make sure it’s labelled with an appropriate name!

When saving your artwork
- Don’t forget to proofread your artwork. Are you 100% happy with the layout? Is all the spelling, grammar and punctuation correct?
- Save your artwork as a high-resolution PDF. The DoorHangerPrinting team can work with other file types, but PDFs are preferred. Please do not save your artwork as an interactive PDF.
- Save your artwork with crop marks. Most design software programs enable you to add the marks when saving.
- Embed or outline your fonts. This prevents your font choices being replaced by default fonts by accident.
- If you’re using variable data printing, don’t forget to also save a spreadsheet file of all the variable elements you’re looking to print. If you’re looking to print variable graphics, make sure these are designed and saved as separate files and stored in a folder together.

Your artwork is ready, great news!
Simply upload your files at the shopping cart page, or send us the files via email. If you’re having trouble transferring larger files, you can also send them via WeTransfer (or other similar file transfer services) – or upload them to a cloud storage service (such as Google Drive or Dropbox) and share the link with us.
Prefer to send your files over FTP?
No problem, we can do that too – just get in touch for more details.
Need help with preparing your design?
Get in touch for expert advice and support today